Trippy wall art transcends traditional visual boundaries through its vibrant colors and mind-bending patterns. This art form is more than just decoration; it serves as a medium for personal expression and can transform any mundane space into a dynamic visual experience. Whether you’re looking to infuse a bedroom with energy or add a stimulating backdrop to your living room, trippy wall art is an excellent choice.
What You Need to Know Before Starting

Understanding the Basics of Trippy Art
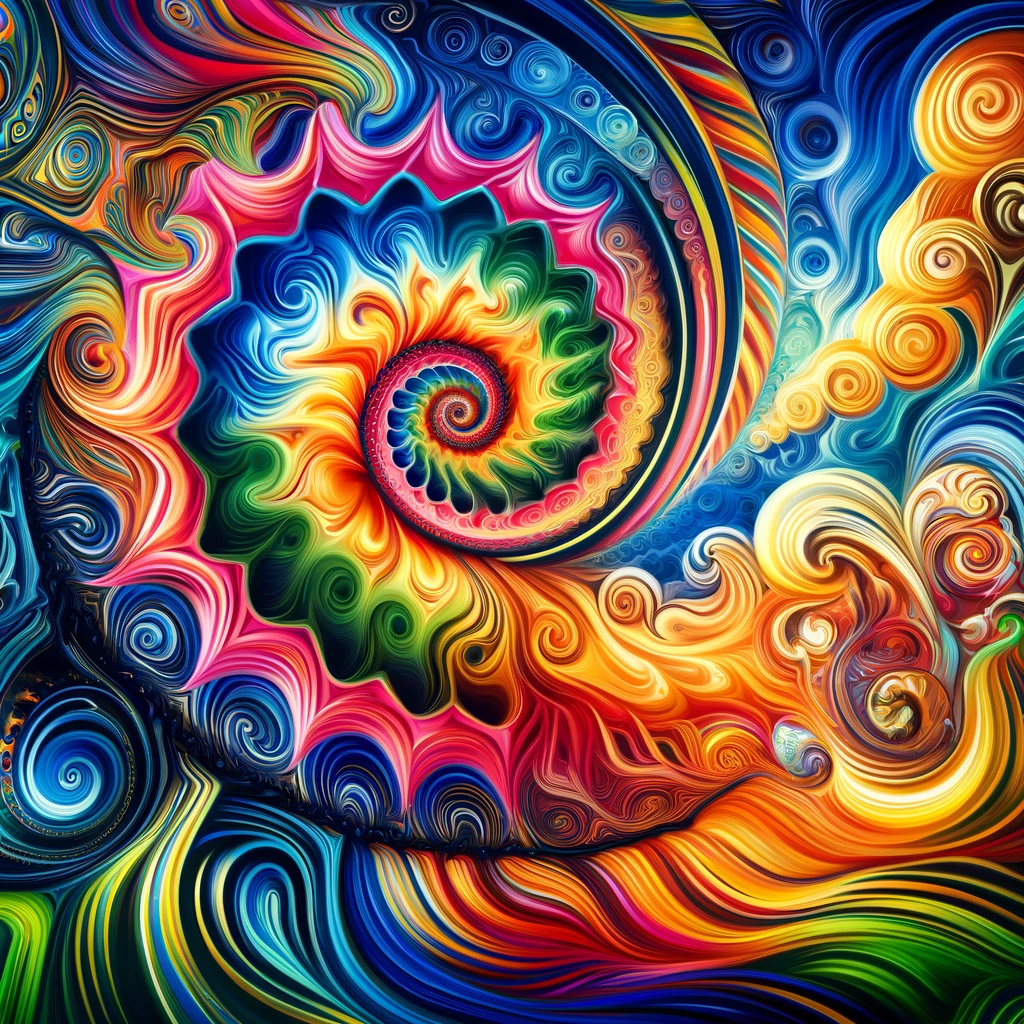
Trippy art, often characterized by its psychedelic aesthetics, involves vivid colors and patterns that can evoke a sense of depth and movement. This style is rooted in the counterculture movements of the 1960s but has evolved to incorporate modern techniques and themes.
Deciding on the Style and Colors
Choosing Your Style
Selecting the right style is crucial as it sets the tone for your artwork. You might choose abstract designs that focus on geometric shapes and bold colors, or perhaps surreal art that depicts dream-like scenes that seem almost real yet impossible.
Color Impact
Color plays a pivotal role in trippy art. It can affect the mood of the piece and influence the viewer’s perception. Opt for high-contrast color schemes to enhance the illusion of depth or vibrancy, which are hallmark traits of trippy visuals.
Examples of Popular Trippy Art Styles
Psychedelic Art
Characterized by bright, saturated colors and swirling fluid patterns, psychedelic art often incorporates natural motifs and optical illusions to create a hypnotic experience.
Surreal Art
Surreal art combines the bizarre with the familiar, creating scenarios that challenge reality. This style uses distorted figures and dream-like landscapes to provoke thought and evoke emotion.
Abstract Art
Focusing on shapes and colors rather than real-life objects, abstract trippy art relies on the visual language of form, color, and line to create a composition which may exist with a degree of independence from visual references in the world.
Materials Needed
Essential Supplies for Trippy Wall Art
To begin your journey in creating trippy wall art, gathering the right materials is essential. Here’s a list to get you started:
Canvas or Wall Space
- Canvas: A high-quality canvas is suitable for detailed work and can be framed easily.
- Wall Space: If you’re painting directly on a wall, ensure the surface is clean and primed.
Paints
- Acrylic Paints: Preferred for their quick drying time and vibrancy.
- Oil Paints: Offer rich colors and great blending capabilities, but require more drying time.
Brushes and Tools
- Various Brushes: A range of sizes from large brushes for broad strokes to fine tips for details.
- Palette Knives: Useful for creating textured effects and bold color blocks.
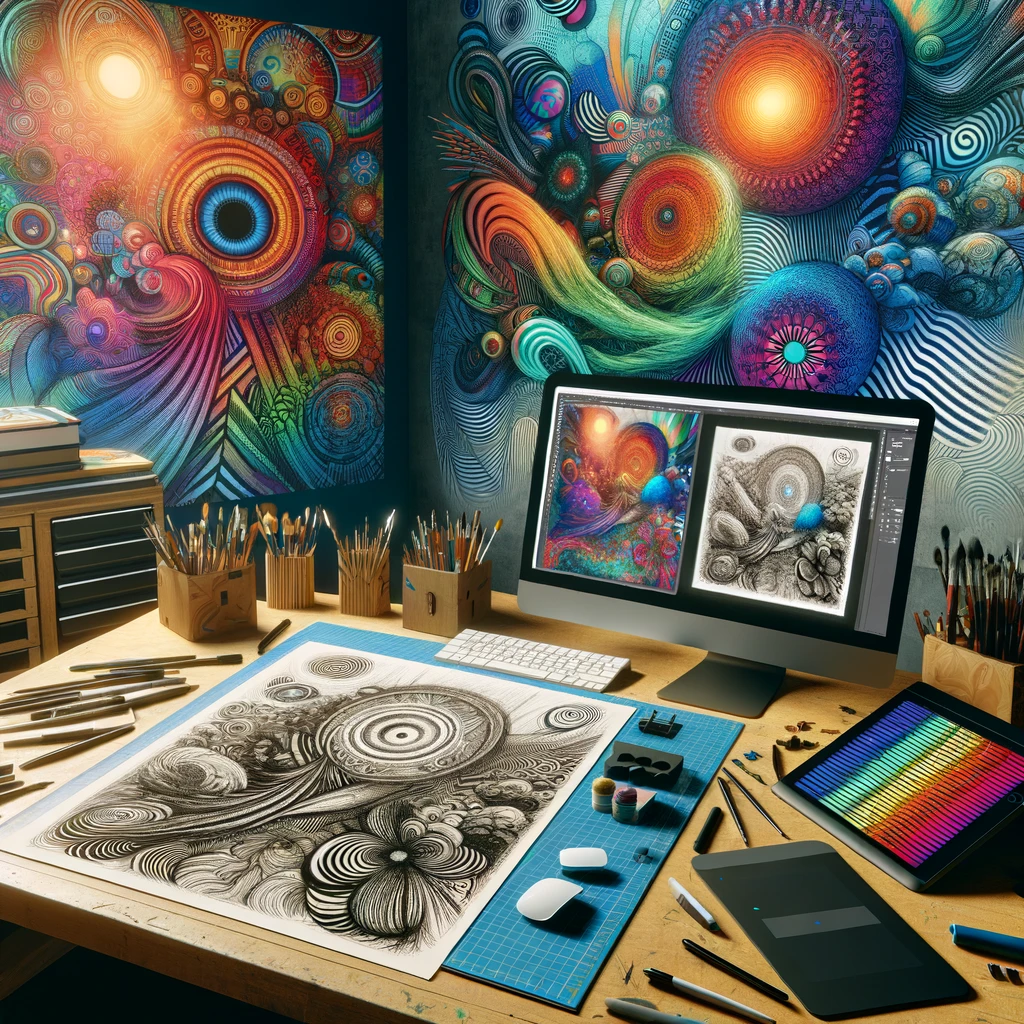
Digital Tools (for Digital Artists)
- Graphic Tablet: Essential for digital painting and drawing.
- Software: Programs like Adobe Photoshop or GIMP offer extensive features for creating digital trippy art.
Choosing the Right Materials
Selecting the right materials can significantly affect the outcome of your artwork. High-quality paints provide better color depth and longevity, while durable canvases or properly prepared walls ensure that your art withstands the test of time.
Are you inspired to take your trippy art to the next level? Discover more innovative techniques and styles in our dedicated Trippy Art Techniques category. Whether you’re looking for advanced painting methods, digital art tips, or unique material suggestions, we’ve got it all covered. Click here to continue your artistic journey and keep your creativity flowing!
Designing Your Trippy Wall Art
Planning Your Design
Sketching and Concept Development
Start with a rough sketch to lay out your ideas. This initial plan helps in visualizing the end product and serves as a guide during the creation process.
Integrating Elements of Nature and Geometry
Using elements like fractals, which are seen in natural objects like tree branches or snowflakes, can add an organic texture to your artwork. Geometric shapes like circles and triangles can also be used to create optical illusions and add complexity.
Color Theory in Trippy Art
Understanding how colors interact and affect the viewer’s perception is crucial in trippy art. Using contrasting colors can make elements stand out and give the artwork a sense of depth.
Incorporating Elements of Illusion
Techniques for Depth and Illusion
- Perspective Tricks: Play with perspective to give the illusion of depth.
- Color Layering: Overlay transparent layers of color to create depth and vibrancy.
Step-by-Step Creation Process
Painting on Canvas
- Prepare the Canvas: Apply a base coat if necessary.
- Apply the Base Colors: Start with large areas, laying down the dominant colors.
- Add Details: Gradually add finer details and textures, enhancing the illusion of depth and motion.
- Final Touches: Assess the overall composition and make any necessary adjustments to balance the artwork.
Creating Digital Trippy Art
- Setup the Digital Canvas: Choose your dimensions and resolution.
- Block in Basic Shapes and Colors: Establish the general composition with broad tools.
- Refine and Detail: Use finer digital brushes and effects to add detail and texture.
- Final Adjustments: Use filters and adjustments layers to fine-tune the colors and effects, ensuring everything is cohesive and visually striking.
Adding a Professional Touch
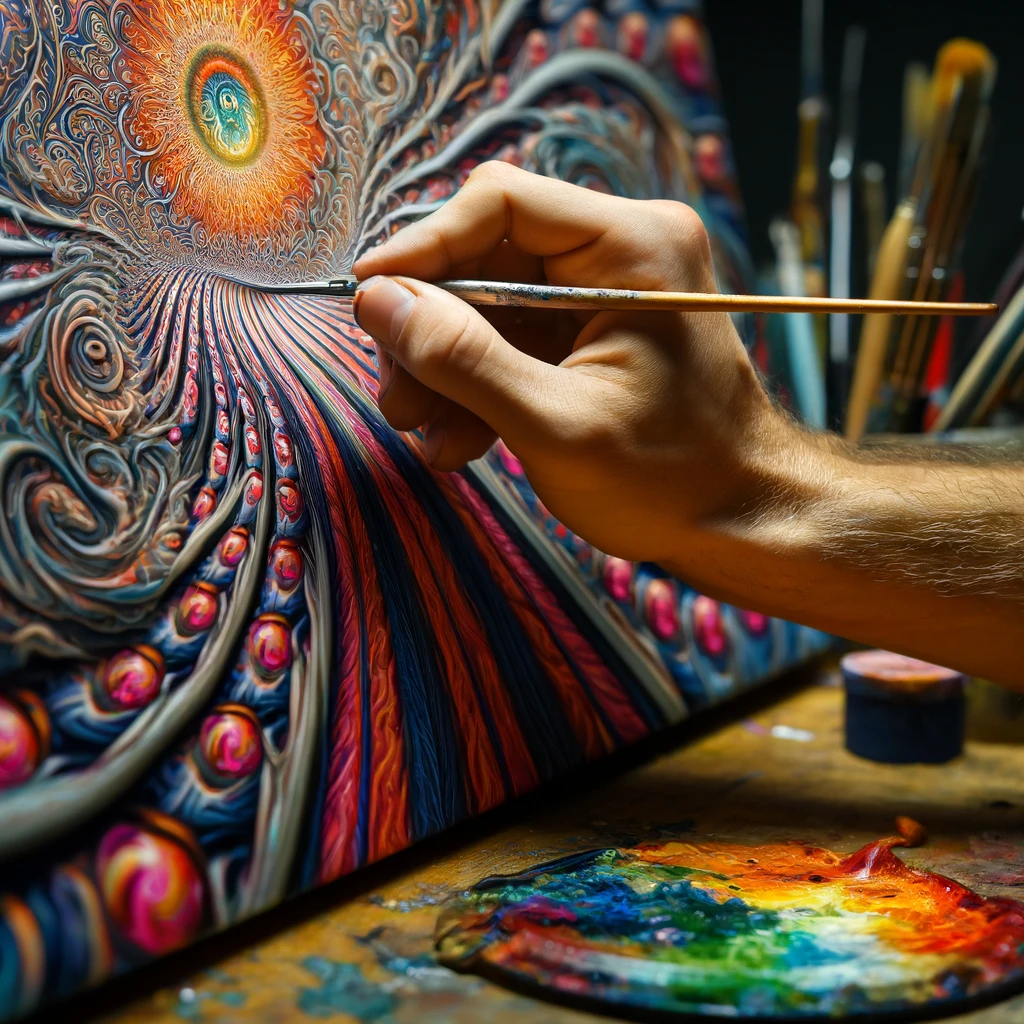
Refining and Finishing the Artwork
Once the main elements of your trippy wall art are in place, refining and adding professional touches can elevate its overall impact.
Smoothing Out Imperfections
- Smoothing Techniques: Use finer brushes to smooth out edges and blend colors more seamlessly, enhancing the fluidity and cohesion of the piece.
Enhancing Details
- Detailing Tools: Employ detailing brushes or digital tools to add intricate patterns or highlights that bring depth and complexity to the artwork.
Framing and Presenting Your Trippy Wall Art
Choosing the Right Frame
- Frame Selection: Select a frame that complements the art without overwhelming it. Frames can add structure and draw the eye towards the artwork.
Installation Tips
- Proper Placement: Hang your artwork at eye level and consider the lighting and the room’s layout to maximize its visual appeal.
Lighting and Placement for Maximum Impact
Lighting Considerations
- Directional Lighting: Use spotlights or track lighting to emphasize textures and colors, making the artwork pop.
- Ambient Lighting: Soft, diffused light can enhance the ambient effect of your trippy wall art, making it a focal point of the room.
Strategic Placement
- Viewing Angles: Place the art in a location where it can be viewed from multiple angles, allowing the colors and patterns to interact differently with the viewer’s perspective.
Maintenance and Care
Proper Maintenance of Trippy Wall Art
Ensuring your trippy wall art remains as vivid and impactful as when it was first created involves regular maintenance.
Cleaning Techniques
- Dusting: Gently dust the artwork regularly to prevent build-up that can dull the colors.
- Cleaning Products: Use appropriate cleaners that do not contain harsh chemicals which could damage the paint or canvas.
Tips for Preserving the Vibrancy of Colors
Avoiding Direct Sunlight
- UV Exposure: Keep your artwork away from direct sunlight to prevent fading and maintain the vibrancy of the colors.
Appropriate Environmental Conditions
- Humidity and Temperature: Maintain a stable environment with controlled humidity and temperature to prevent the materials from warping or deteriorating.
Protective Coatings
- Varnishes and Seals: Apply a UV protective varnish or sealant to help preserve the color intensity and protect against dust and environmental damage.
Inspirational Ideas and Examples
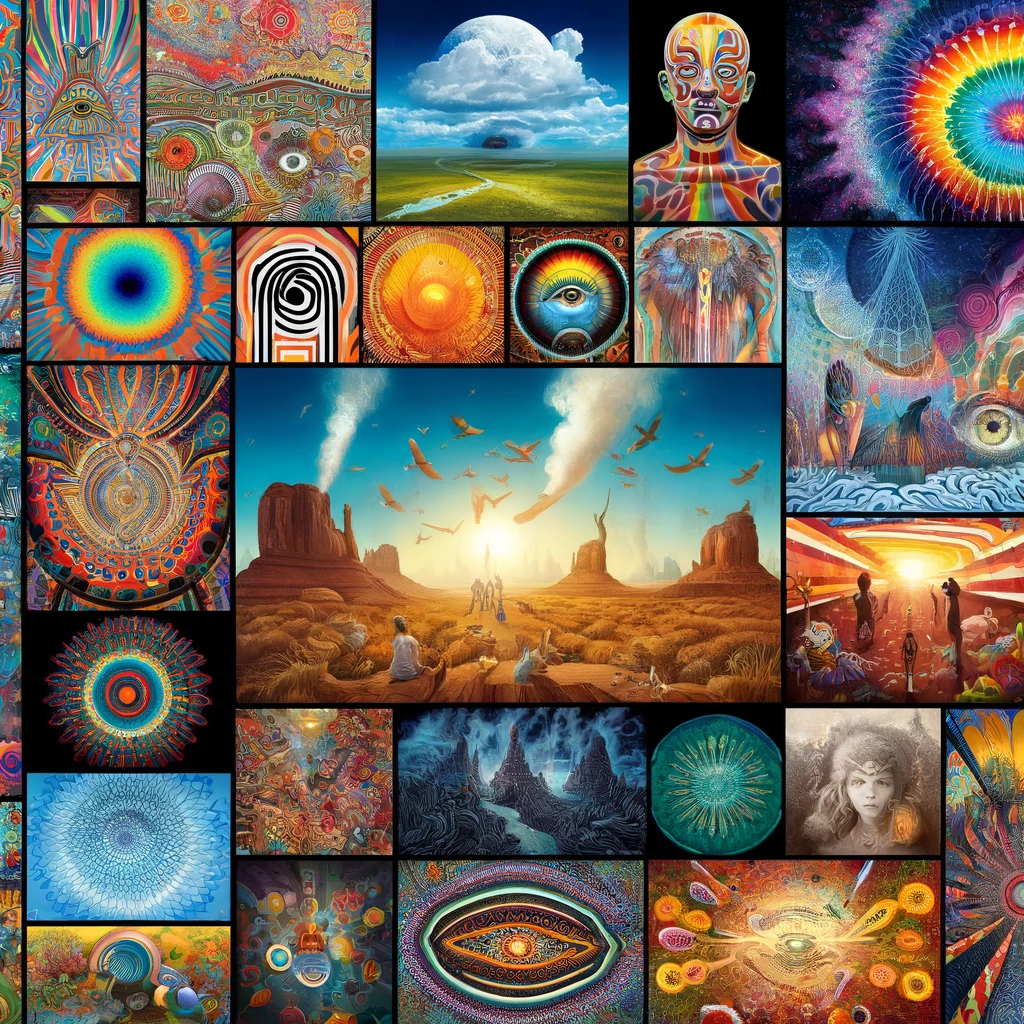
Showcase of Famous Trippy Wall Art Pieces
Historical Influences
- Salvador Dali: Explore the surreal landscapes and dream-like scenarios that define Dali’s work, perfect for understanding illusion and depth in trippy art.
- M.C. Escher: His intricate patterns and impossible constructs are great examples of how to manipulate perspective and viewer perception.
Contemporary Examples
- Digital Artists: Look at modern creators who use software to blend vibrant colors and hypnotic patterns that are distinctly futuristic.
Ideas from Different Cultures and Art Movements
Global Influences
- Aboriginal Dreamtime Art: Known for its vivid storytelling and use of symbolic patterns.
- Japanese Ukiyo-e: Offers dynamic and flowing designs that can inspire fluid and rhythmic patterns in trippy art.
Art Movements
- Psychedelia: Characterized by bright, swirling colors, this movement can inspire artwork that stands out for its visual intensity.
- Op Art: Focuses on creating optical illusions with meticulous precision, ideal for adding a sense of movement to your pieces.
DIY Trippy Wall Art Projects
Home Decor
Beginner Project Simple Psychedelic Pattern
Materials and Tools
- Acrylic Paints: Choose a variety of bright colors.
- Canvas: A small to medium-sized canvas is suitable for beginners.
Step-by-Step Guide
- Base Layer: Apply a solid color base layer.
- Add Patterns: Use contrasting colors to paint simple swirls and waves.
- Finishing Touches: Add highlights and shadows to enhance the depth.
Intermediate Project Creating a Trippy Mural
Materials and Tools
- Wall Paints: Higher quantity of acrylic or latex paint.
- Large Brushes: For covering bigger areas efficiently.
Step-by-Step Guide
- Sketch the Design: Outline your mural with a light pencil or chalk.
- Block Colors: Fill in large areas with bold colors.
- Detailing: Add intricate details to bring the mural to life.
- Sealant: Apply a protective coat to ensure durability.
Advanced Project Integrating LED Lighting into Trippy Art
Materials and Tools
- LED Strips: Choose programmable LED strips for dynamic effects.
- Controller: A controller to change colors and patterns.
Step-by-Step Guide
- Prepare the Artwork: Create a canvas or wall painting that incorporates areas for lighting.
- Install LEDs: Embed LED strips along the designed patterns.
- Program Lighting: Set up the controller to manipulate lights that complement the colors and movement of the art.
- Final Setup: Secure all components and ensure that the installation is safe and stable.
Each of these projects allows artists to explore and express their creativity through different techniques and materials, pushing the boundaries of conventional art into the realm of the extraordinary.
Recap of the Steps Covered
In this guide, we have traversed the journey of creating trippy wall art from the initial planning stages to the intricate processes of actual creation and presentation. We started with an understanding of what trippy art involves, explored necessary materials and tools, and discussed various techniques for designing and executing your artwork.
Encouragement to Explore Personal Creativity
Creating trippy wall art is more than just a mechanical process; it is an expressive journey that allows you to explore the depths of your creativity and personal expression. Each stroke and color choice reflects a part of your imagination that is uniquely yours.
Invitation for Readers to Share Their Own Trippy Art Projects
We encourage you to not only take inspiration from this guide but also to apply your own twists and ideas. Art is continually evolving, and by sharing your unique creations, you contribute to the vibrant community of artists who cherish innovation and originality.
Share your projects: Whether through social media, art forums, or personal blogs, showing your work can inspire others and create connections with like-minded individuals who appreciate the beauty and complexity of trippy art
Ready to expand your artistic horizons? Visit our Trippy Art Projects category for a treasure trove of ideas, tutorials, and inspiration. From beginner tips to advanced projects, find everything you need to create your next mesmerizing masterpiece. Click here and start exploring now your next art project awaits!